 bobobk
Simple Fixes to Instantly Improve Your Video Quality
Improving video quality isn’t about buying the most expensive camera or using flashy effects. It’s about understanding the basics and applying the right techniques with intent. Whether you’re filming tutorials at home, vlogging, or creating content for clients, the clarity and tone of your video say a lot about your professionalism. In today's digital space, sharp visuals can be the difference between holding someone's attention or losing it.
The good news? You don’t need a film crew or high-end gear. With just a decent camera, the right editing software, and a bit of know-how, you can take your video quality from average to polished. This guide breaks it down simply—no fluff, no jargon.
Core Elements That Affect Video Quality
Good video starts with smart shooting before diving into editing. Lighting is your foundation. Natural light near a window or soft LED panels will always beat harsh overhead bulbs. Even simple adjustments—like diffusing light with a curtain—can reduce shadows and improve skin tones.
Resolution and frame rate also matter. Always shoot comfortably in the highest resolution your device allows. 1080p is the standard for YouTube; anything less feels dated. For frame rate, use 24 fps for a film-like look and 60 fps for fast motion. Don't mix frame rates across shots unless you're ready for a lot of correction later.
Next up: camera settings. Don’t rely on auto mode. Set your exposure manually. Lock your white balance. Keep your focus steady. These give you consistency and control—two essentials for good-looking footage.
Audio deserves a quick mention, too. It's often overlooked, but viewers will tolerate minor visual flaws if the sound is clean. A basic lapel mic is cheap and a big upgrade over your camera's built-in microphone.
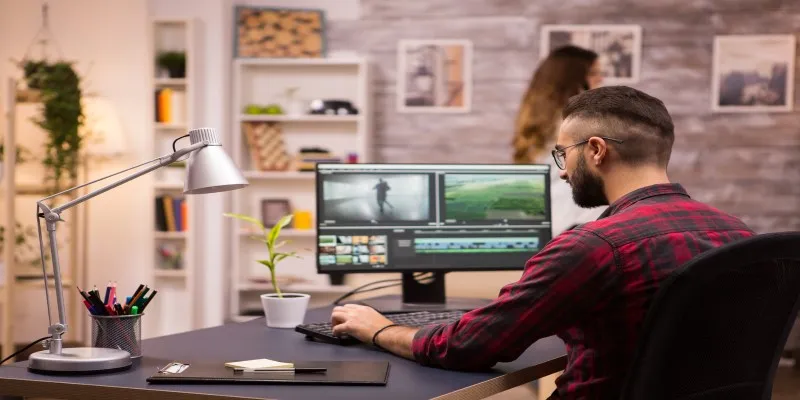
How to Use Editing to Improve Your Footage?
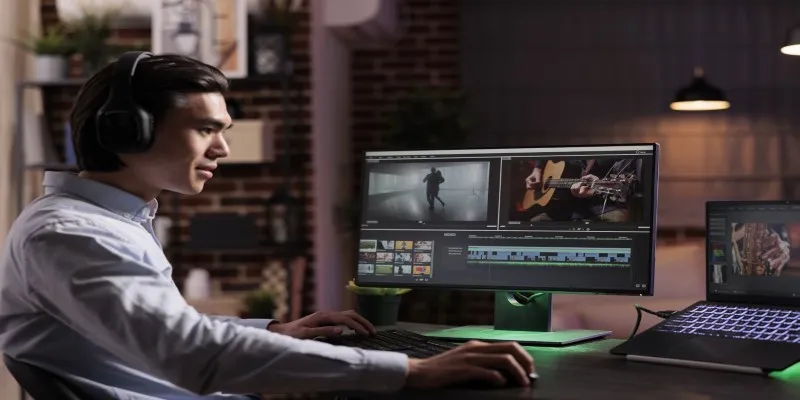
Once you’ve captured solid footage, editing is where you polish and elevate. The goal isn’t to add gimmicks but to clean and enhance what’s already there.
Start with color correction. Tweak exposure, shadows, highlights, and white balance so your clips look balanced and consistent. Use scopes—not just your eyes—to get it right. Most modern editing software has built-in tools for this.
After correction comes color grading, which is where you give your video a style—maybe warm and cinematic or cool and minimal, keep it subtle. Heavy filters often look amateurish. Start with a light LUT, then fine-tune from there.
Stabilization can help clean up shaky footage. Most editing programs offer warp stabilization but use it lightly, or you'll end up with distorted edges. Shooting with stabilization turned on helps, but software can rescue a decent shot if needed.
Reframing and cropping help fix composition issues. Shoot a little wider than necessary to allow room to reframe. It’s a simple fix that can make a big visual difference.
Sharpening and noise reduction also play a role. A small amount of sharpening improves clarity, especially if your footage comes from a smartphone. But don't overdo it—it adds digital grain. Use noise reduction tools only on clips that really need them and preview them at full size to avoid smudging details.
Your edit's pacing matters, too. Trim dead time, awkward pauses, and scenes that drag. Viewers notice when a video flows smoothly, even if they can't explain why. Tighter cuts create a more professional feel without needing fancy transitions.
Best Tools and Plugins to Boost Quality
You don’t need dozens of plugins, but a few smart tools can level up your output. First, your editing software matters. DaVinci Resolve is a powerful free option with strong color tools. Adobe Premiere Pro is great if you're in the Adobe ecosystem. Final Cut Pro is fast and efficient, while CapCut’s desktop version works well for simpler projects.
Neat Video is a strong plugin for reducing grain in low-light footage. If your clips are noisy, it can restore sharpness without making them look fake. Magic Bullet from Red Giant offers flexible, film-like color grading tools.
AI tools like Topaz Video AI can upscale lower-resolution videos or increase frame rates. While you shouldn't rely on them for every project, they're great for breathing new life into older footage.
LUTs help speed up your grading process. They’re preset color profiles that give your footage a specific look. Always adjust them to suit your footage—applying a LUT without tweaks usually looks off.
Hardware matters, too. Editing on a machine with a strong GPU speeds up your workflow and allows real-time previews. A calibrated monitor helps ensure your colors look good across all screens.
Keeping It Consistent
Consistency is what ties everything together. You don’t need the best footage—you need footage that looks good from start to finish. Set your camera the same way for every shoot, use the same lighting setup, and edit with the same color palette and pacing. Over time, this creates a recognizable style.

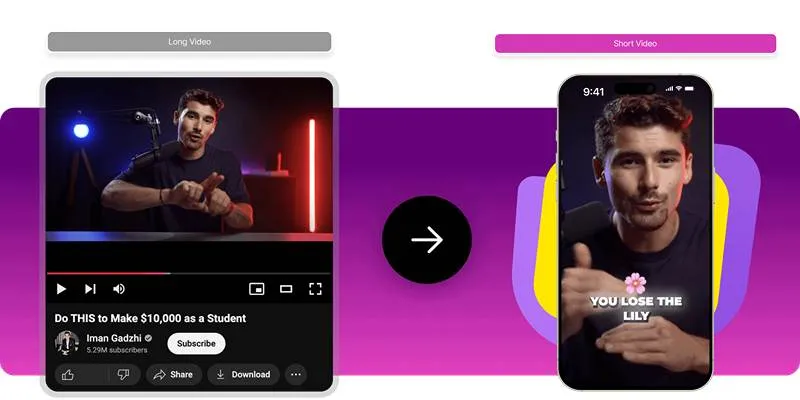
Export settings matter, too. Use the right resolution, codec, and bitrate based on where you're publishing. YouTube compresses videos, so uploading a slightly higher bitrate helps for Instagram or TikTok, export in vertical 1080x1920 and 30 or 60 fps for smoother playback.
The more consistent your process, the more efficient you will become. You will spend less time fixing mistakes and more time refining your creative ideas.
Conclusion
You don’t need expensive gear to produce high-quality videos. By focusing on good lighting, consistent settings, and smart editing choices, you can dramatically improve your video quality. Use editing software to correct color, stabilize footage, and tighten pacing. Tools and plugins help, but discipline and consistency matter more. The key is to build a repeatable process that delivers clear, polished results every time. As you apply these steps, your skills and visuals will grow stronger. With time and effort, your videos will not only look better—they’ll connect more deeply with your audience and leave a lasting impression.
Related Articles
Convert XML to Excel Online – Easy and Quick Method (No Coding Required)
Lag-Free Screen Recording on Mac: 5 Tools You Need
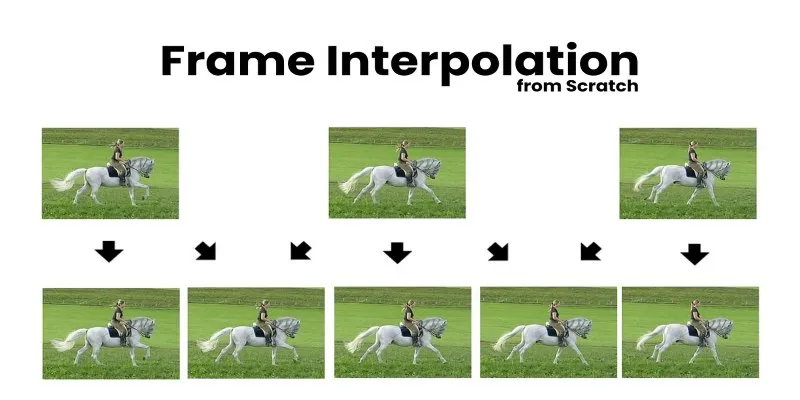
Boost Video Quality with AI: A Complete Guide to Frame Interpolation
Best Tools to Convert Video Formats: Top 5 Transcoders You Need
AI Highlight Video Makers: Top 3 Tools to Capture Best Moments
KineMaster Without Limits: Removing the Logo the Right Way

WAV to M4A: 5 Quick and Simple Conversion Methods

Understanding Data Extraction and Automating It Efficiently
Convert MXF Files Without Quality Loss: 5 Tools for Mac
Simple Fixes to Instantly Improve Your Video Quality
Free Video Converter Tools for Easy TikTok and Instagram Uploads